
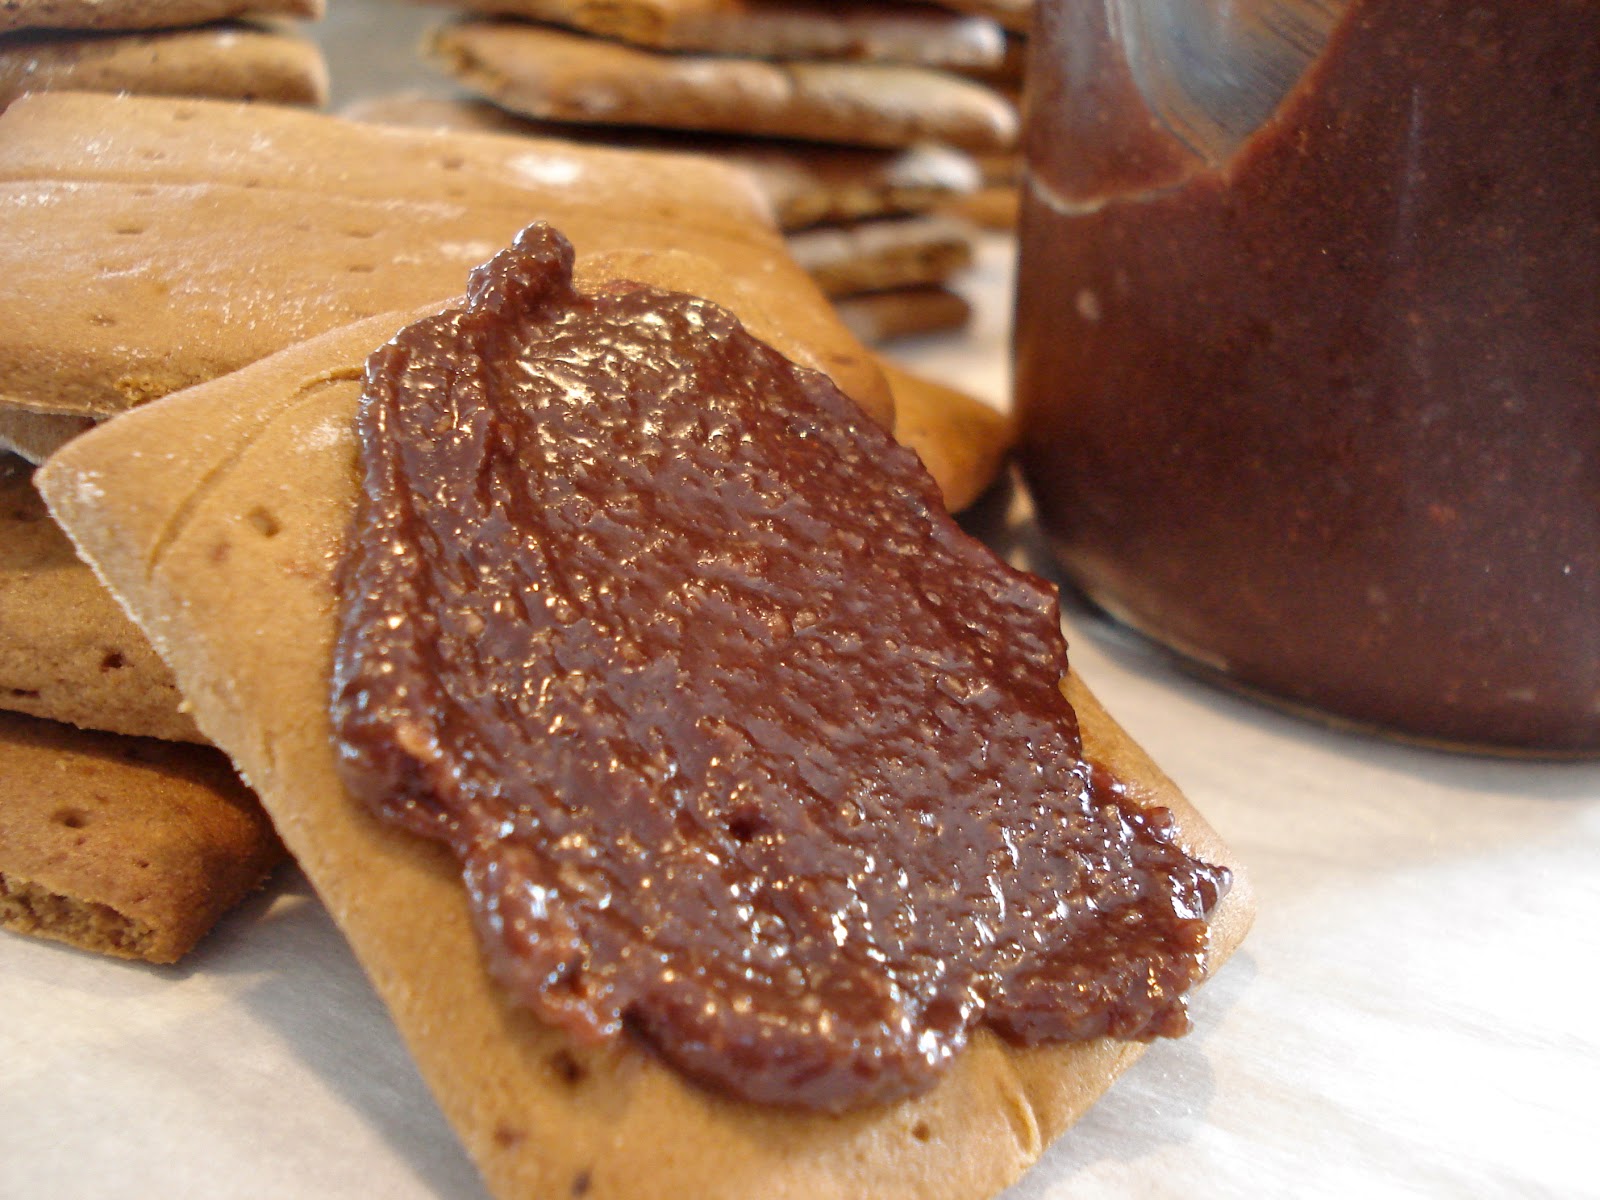
I just made a batch of my Homemade Chocolate Hazelnut Spread last night. My sister was diligently studying for her Organic Chemistry test, and I decided I would make her a treat to help her along. She was one happy camper let me tell you. Since I cannot eat the ordinary graham crackers, I decided to venture on a journey of making ones I could eat.

These crackers are delicious, and surprisingly, not even bad for you! What do you know! Sounds like a perfect snack to me. They are definitely a crowd pleaser and super easy to make! My whole family loves them, and they make your house smell amazing non-the-less. Definitely try these amazing graham crackers!! You won't regret it!
Graham Crackers
Adapted from Desserts With Benefits
Ingredients:
1 1/2 + 3/4 cup spelt flour, separated
1/2 cup coconut sugar
1tsp. cinnamon
1/4 tsp. sea salt
1/2 tsp. baking soda
2 Tbs. mollasses
2 Tbs. honey
2 Tbs. coconut oil
2 Tbs. unsweetened applesauce
1 tsp. vanilla
1 Tbs. almond milk
Directions:
1. Preheat oven to 375F. Line a large baking sheet with parchment paper.
2. Combine all dry ingredients (save 3/4 cup spelt flour for later) in a large bowl.
3. Whisk together wet ingredients until thoroughly mixed.
4. Add wet ingredients to dry ingredients. Stir until combine.
5. Add in the 3/4 cup spelt flour as needed to create a kneadable dough.
6. Flour your rolling surface with remaining flour. Use a rolling pin to roll dough out until it is about 1/8" thick.
7. Cut crackers out to desired size with a pizza cutter. Use a spatula to transport the crackers to the baking sheet. Use a fork to poke holes in them.
8. Bake for 10-12 minutes or until the edges are slightly browned.
9. Let cool completely before storing in an air-tight container.
No comments:
Post a Comment